Roof Layers From Bottom to Top
Before you commit to a new roof, you may want to familiarize yourself with the layers of a complete roof. It’ll help you understand the lingo your contractor uses. You’ll also have a better idea of which questions to ask - perhaps “water kind of vapor barriers do you use?”, “how long will your flashing last?” or “do we really have to replace all those layers? Why?”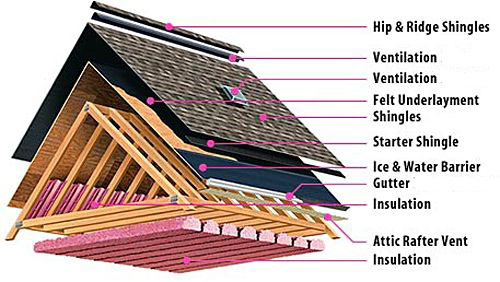 An “exploded” view of several roof layers. Image Credit: Square Deal Construction
 Decking
Decking is usually made of plywood. It’s typically installed right over the wooden framing of a house. You may be able to see the underneath of your decking from your attic. A roof’s decking ties your truss, along with its joints, together. The decking goes on top of the truss.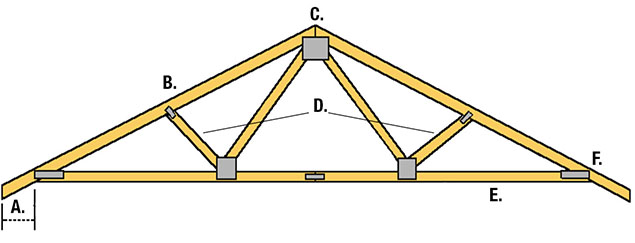 A common shape of a truss. Image Credit: Menards
 Water Barrier
Water barriers (also called vapor barriers or ice barriers) help keep water vapor out of your attic. It’s cut and stuck to the decking like a big roll of sticky tape. Materials can rot and grow mold if vapor makes its way through your roof. There are different classifications for vapor barriers that describe how much vapor they allow through them. Class I is impermeable while Class II is semi-impermeable and Class III is semi-permeable. Most vapor barriers are Class I. More permeable barriers are sometimes used because they allow water to dry easier.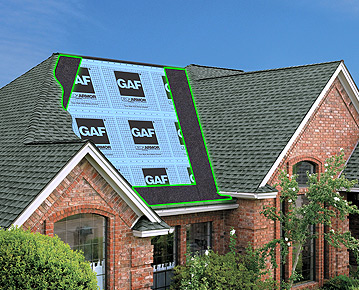 A water barrier. Image Credit: GAF
 Flashing
Flashing are metal pieces used to redirect water away from the chimney and other seams and joints of a roof that are more prone to leaking. It’s placed where the roof meets another object. Flashing typically doesn’t last as long as the rest of the roof. That’s another reason why it’s a good idea to have your roof inspected regularly.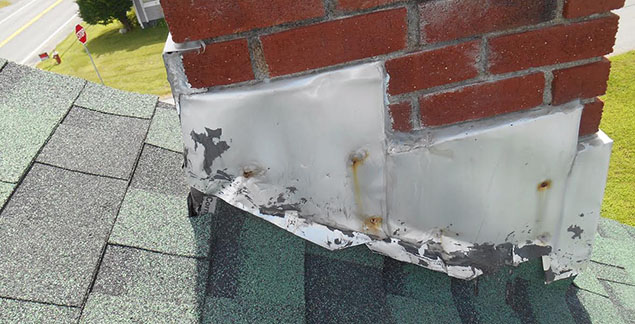 This chimney flashing is overdue for replacement. The rust is a big clue!
 Starter Strips
Starter strips (also called starter shingles) help roofers begin to lay down shingles. The strip is installed on the lower edge, and sometimes the vertical edges of a roof. They’re nailed down and contain sealant on their outer edges. Since the eaves and edges of your roof are most prone to allowing water in, a starter strip provides a final sealing layer before laying shingles.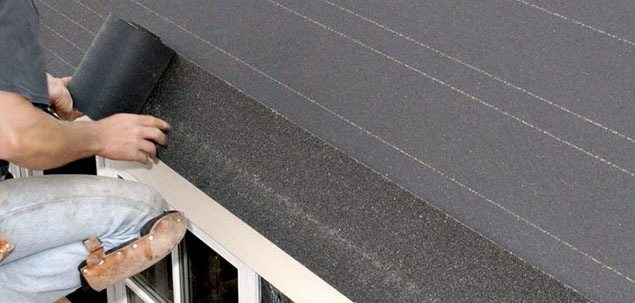 Starter strip. Image Credit: Fine Homebuilding
 Underlayment
Underlayment helps shingles lay flat. It’s made of a softer material than the decking, as it’s usually made of felt or a rubberized material. Shingles that lie flat are less prone to blow away in high winds. It also prevents wind-driven rain (sometimes called “sideways” rain!) from getting underneath the shingles. Underlayment. Image Credit: Barricade Building Products
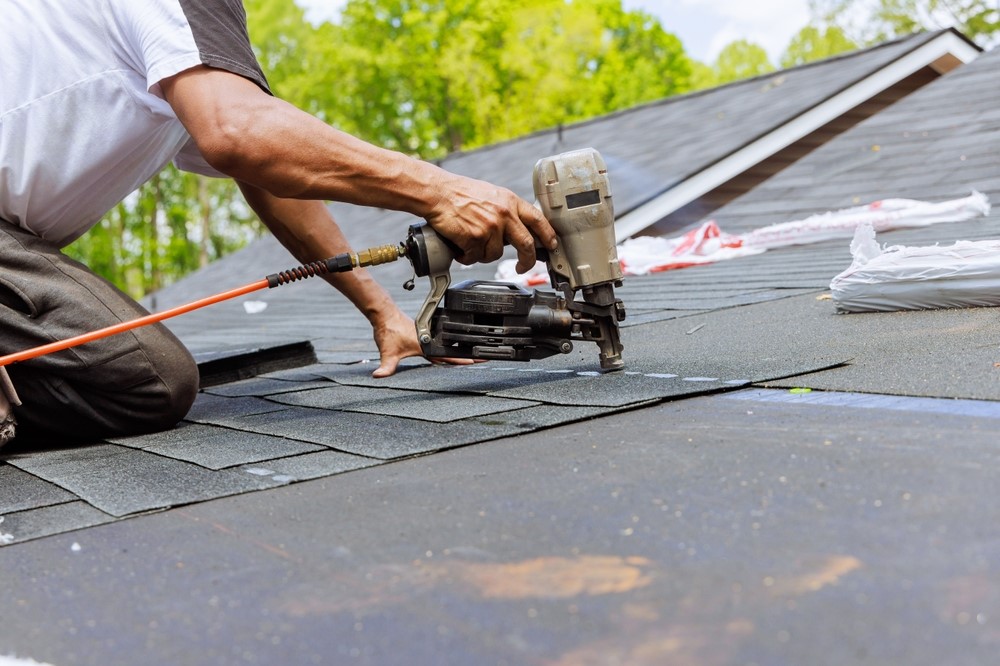
 Shingles
Finally, it’s time to install shingles. They’re nailed into the underlayment. There are several different types of shingles - they come in different materials and thicknesses. Shingles are a huge aesthetic part of your home as well.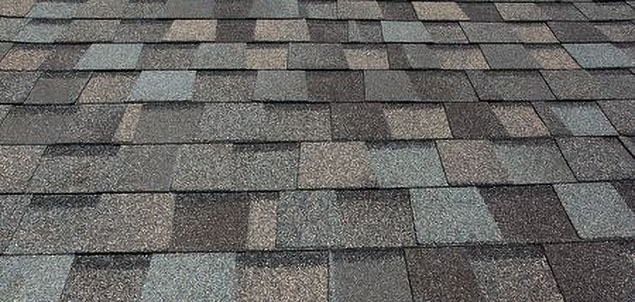 Asphalt 3-tab shingles. Image Credit: The Spruce
 Ridge Caps & Other Accessories
Ridge caps are placed on the ridges (also called spines or joints) of your roof. Regular shingles don’t protect ridges on your roof as well as a ridge cap can. They complete the look of a roof and seal in the hard angles.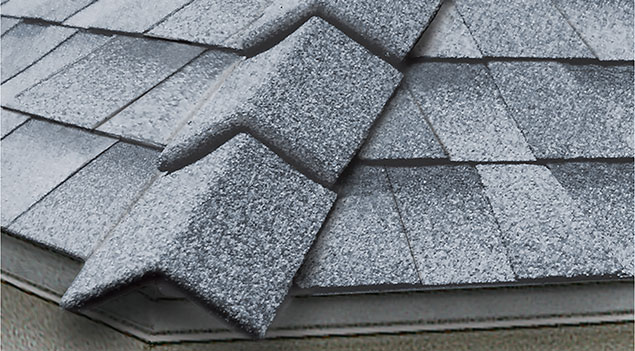 Ridge cap. Image Credit: Professional Builder
 Get in Touch With RoofCrafters
Your roof is only as strong as its materials and the quality in which it was installed! Attempting to replace major roof components without the proper training may result in a larger bill than if you were to have hired pros in the first place. Get in touch with RoofCrafters today!Subscribe to RoofCrafters Inc's Blog